• There has been a recent cluster of spammers accessing BARFer accounts and posting spam. To safeguard your account, please consider changing your password. It would be even better to take the additional step of enabling 2 Factor Authentication (2FA) on your BARF account. Read more here.

Build Thread: Ducati 2V SBK

viva_brasil

New member
Joined
Jun 1, 2012
Location
Palo Alto
Moto(s)
EBR, Pani, 999/1198S
Name
Nik
Finally finishing up the multistrada build and can focus on the 2V SBK. Plus I sold my other bike so I have some $ to feed this one.

Here's the plan...
Frame: 999
Rear End: 1098
Front end: 1098
Motor: 2002 900SS fuel injected
Tank: 848
Subframe: Not sure yet...
Bodywork: modified 916 / 996 / 748 style track plastics with custom lighting (the plan at least)

Work done so far:
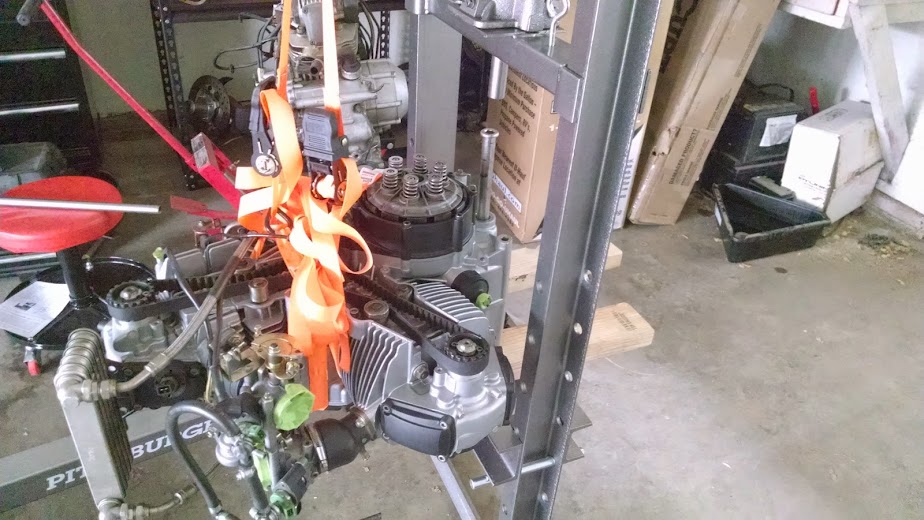
- Modified 900SS cases so they'll fit the frame (pushed bearings out, ground down, pushed bearings back in)
- New steering head bearings (All Balls Bearings) installed
- 1098 wheels refinished (had to pull the bearings and reinstall - yea good luck)
- Test fit motor, frame, front and rear end

Up Next:
- Get custom frame inserts machined (the pivot bolt goes through an insert in the frame, the 999 insert has the bolt going in off-center, the air cooled motor needs it exactly on center)
- Buy MOAR PARTS (fuel pump, gauge cluster, brake rotors, velocity stacks / filter, new slave cylinder, new clutch, lightweight flywheel, bla bla)
- Endlessly debate what I should do with the motor, if anything
- Finalize my split throttle body set-up and get a custom throttle cable made @ Motion Pro
- Wiring... nuff said
- I'll leave at that for now.

Pics below of where it is now. I will disassemble it again, put it on a new bench, and my goal is to do a time-lapse build vid too. I'll be documenting this one in detail, my hope is to share all the info online so anyone can build their own super lightweight torque monster!

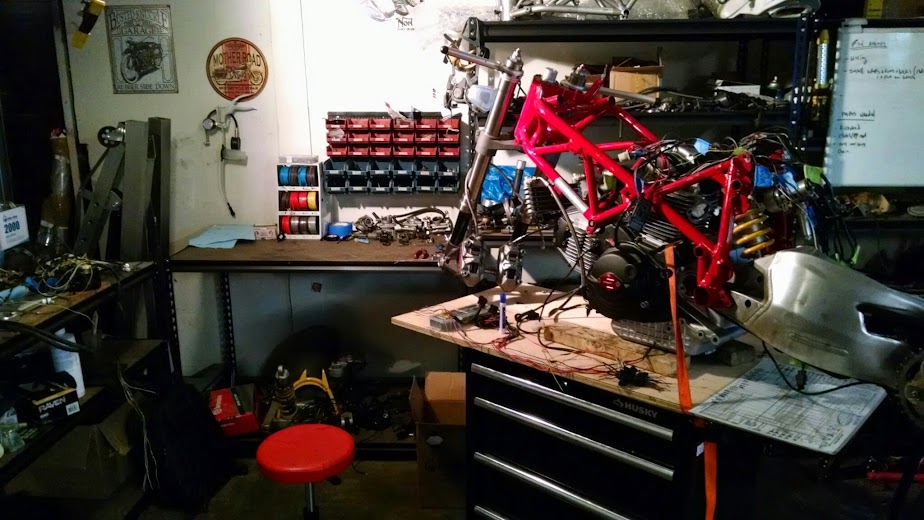
There, there - in the back (behind the Multi on the high bench...)
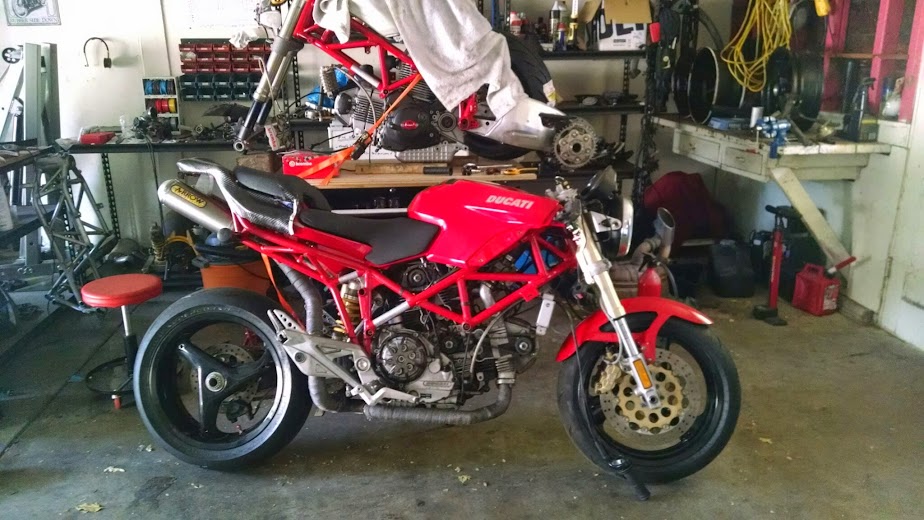
IMG_20141104_090622154.jpg


How I did the bearings on the motor:
IMG_20140214_113447412.jpg


If anyone is wondering where I found the parts.... This is what I scored with a trip up to Marin one day:
IMG_20131218_100042489_HDR.jpg


There are good deals around...
 
Last edited:
fuel pump ordered...

anyone have any good gauge cluster recommendations instead of the OEM set?
 
Subscribed and my contribution is motogadget makes fancy cool instruments but they are $$$
 
The 99-02 fuel injected ECUs don't have the whole immobilizer deal that the later Ducatis have. I found a good deal on an OEM gauge cluster so I went with that.

Planning on modifying the harness to keep only the stuff needed for the bike to run and using motogadget's m-unit for the ignition, lights, horn, etc. Keep things neat and tidy.
 
Planning on modifying the harness to keep only the stuff needed for the bike to run and using motogadget's m-unit for the ignition, lights, horn, etc. Keep things neat and tidy.
I'd never seen that before googling it, very cool ! :thumbup
 
Yea all their how-to videos are in German. Hoping to do a fair amount of documentation with this!
 
Alright, I started making some videos and may start to put all the information I have so far into a website or something. But for now, I'll just post my updates here!

- Wiring:
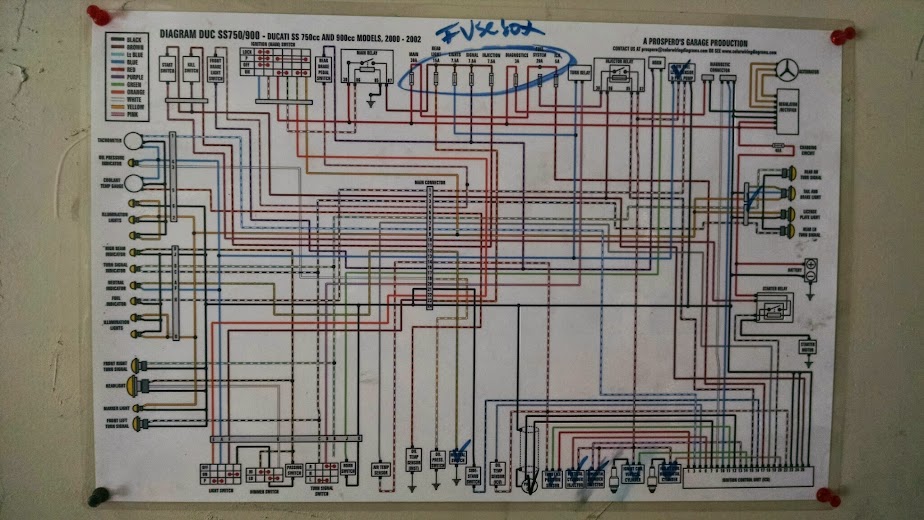
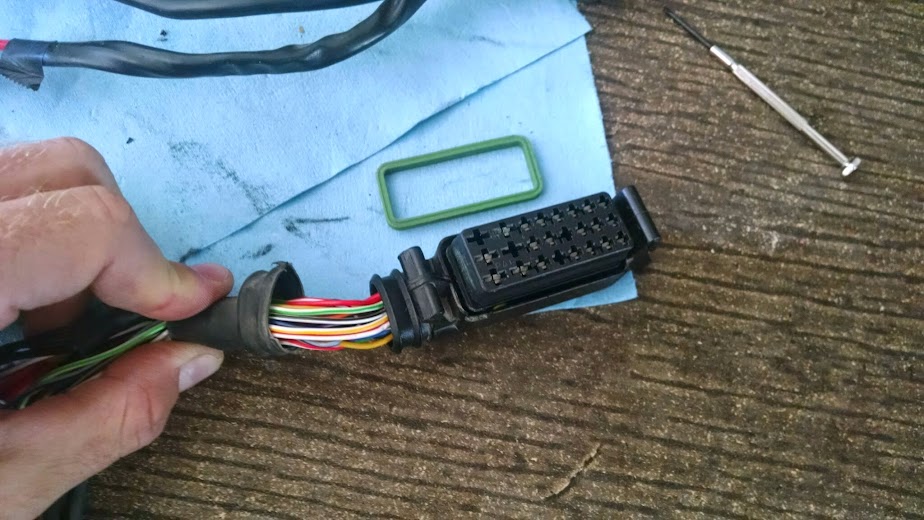
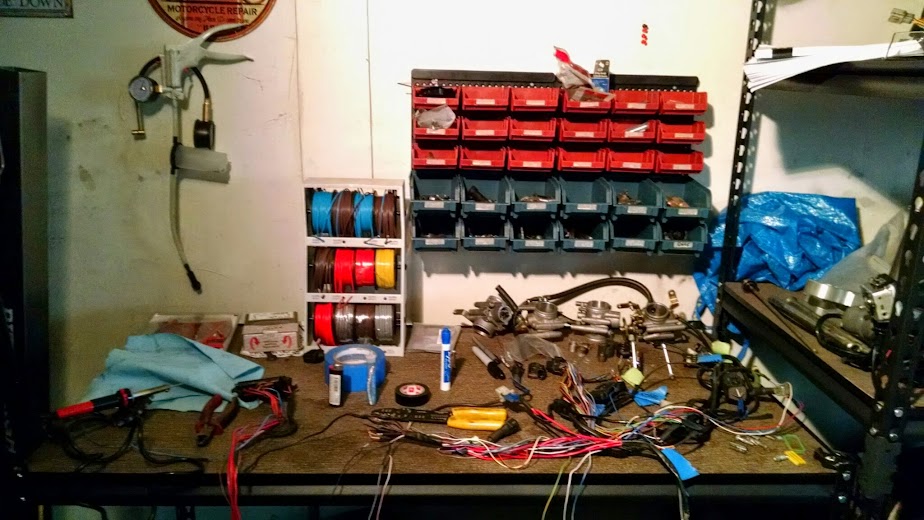
Re-did the whole harness, pulled out anything that isn't need to make the bike run. Had to re-do the fuse box, ended up removing the massive connector between the main and front harnesses and re-soldered all of those and shrink wrapped.

I had never done something involving so many wires... ended up self-learning how to read the freaking diagram and what wires to run where. We'll see if it works!

- Throttle Bodies:
These were on the bench for a while, I finally got the split throttle body to work (decided to split them because of the SBK frame member that interferes with them when they're together, plus it looks cooler). Here's what was needed:
- Separate throttle bodies, disassemble the throttle body that does not have a throttle cable wheel on it (so you have the center rod that holds the butterfly valve out of it).
- Grind off the tip of the rod so you can remove the actuator that is currently on it (the piece with stopper arms and a "tab" that connects to the other throttle body when they're side by side).
- Modify the spring so it holds onto the other "arm" of the actuator - otherwise it will interfere with the throttle cable wheel we stack on top of that.
- Grind the tab off of the actuator (so the throttle cable wheel can be stacked on top) and put it back with the modified spring holding the other "arm". Find a throttle cable wheel from another throttle body and stack it on top of that tab (tight fit!).
- [still working on an elegant way to do this] secure the two wheels to the rod somehow
- You'll also need to modify the bracket that the throttle cable attaches to, the hole needs to be much closer to the throttle body. So cut off a piece, drill a new hole, tap it, and cut a slot out.

Eventually I'd like to get a run of these parts CNC'd, so instead of hacking the OEM stuff to make it work there'll be some off the shelf stuff.

Some pictures below of the wiring and the throttle bodies:

I've almost memorized this:
IMG_20141127_132628520.jpg


First I took the connectors apart and was going to remove a couple wires that I didn't need.
IMG_20141127_132619408.jpg


But then I dove into the whole wiring diagram and decided to get rid of a LOT of stuff, so ended up cutting the big connectors off and reconnecting what I needed.
IMG_20141130_125624029.jpg


IMG_20141130_110848326.jpg


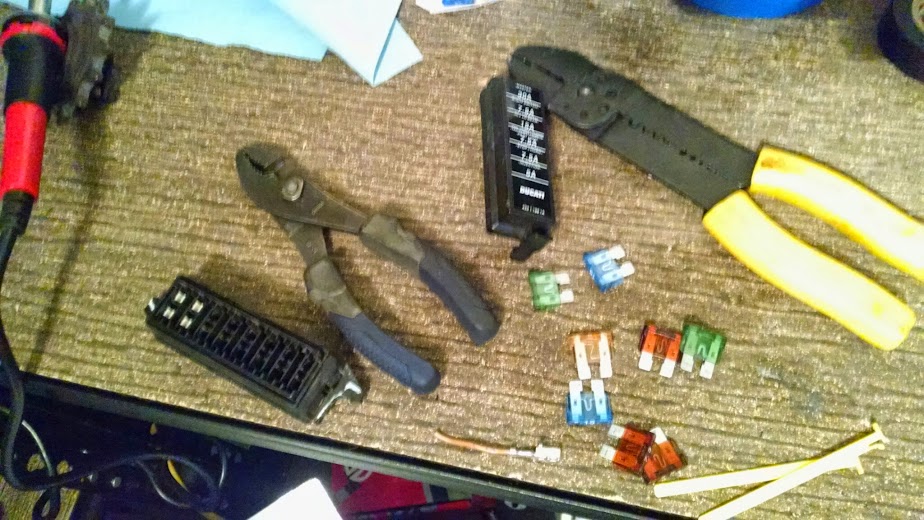
Fusebox update (didn't want to have some random loose cut wires dangling, so had to clean up the box too)
IMG_20141130_133801638.jpg


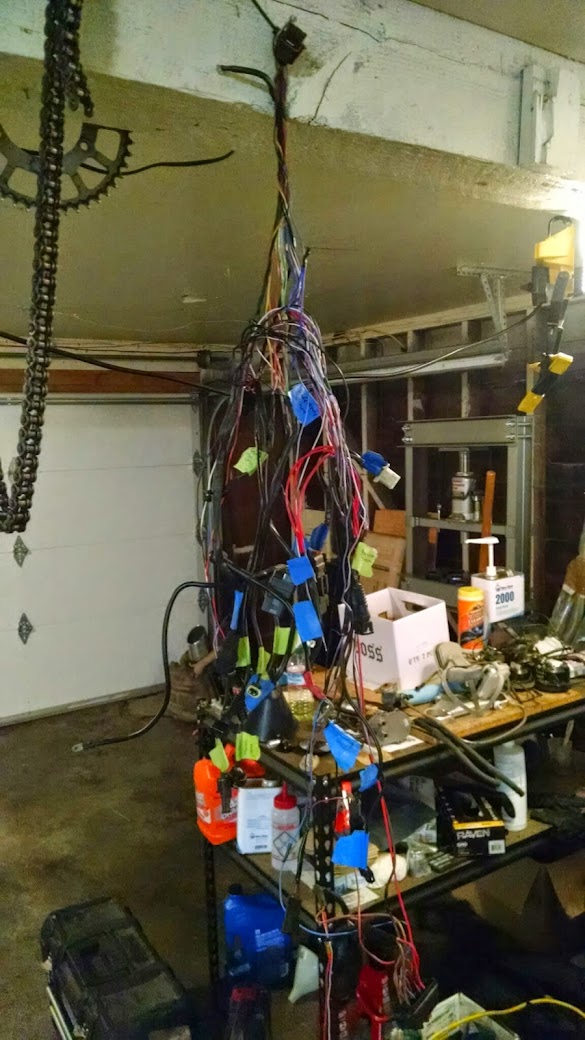
So since I opened the whole harness up, now I need seal it all back up. Needed a way to keep wires straight and taught - so decided to use gravity:
IMG_20141130_160454381.jpg


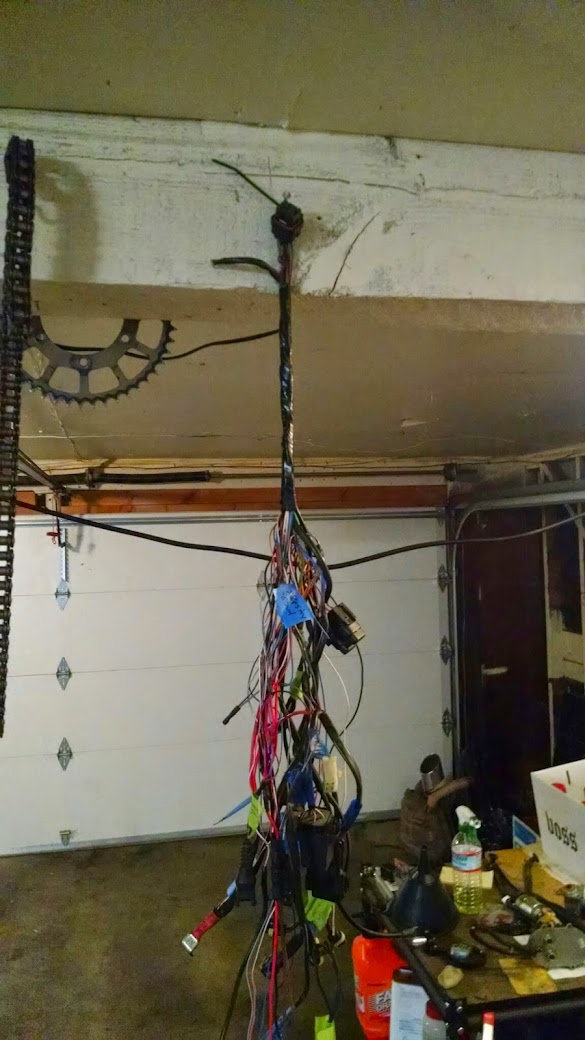
First part done:
IMG_20141130_160950760.jpg


So here's the split throttle body, naked with no wheel / actuator on it (the one on the yellow wire stripper / plier):
IMG_20141130_170807815.jpg


And here it is with the modified stopper / old actuator and modified spring. Yes that spring is happy to see you:
IMG_20141130_171332462.jpg


And here it is mounted with the throttle cable wheel sandwiched on top:
IMG_20141130_171844953.jpg


That's all for now! Next up:

- "Roller": Tires on my wheels, install new rotors, mount wheels
- "Runner": Buy random missing sensors / relay / switches / gauges, finish throttle body, install harness, get custom exhaust made, rear sets
 
Sigh, you're going to have 2 bikes knocked out before I even have one done.

Nicely done :thumbup
 
What're you building? Start a build thread!

I still have the 620 motor, wiring harness, throttle bodies, etc. if you ever wanted to fiddle with that.


Might as well use this post for an update too.... got new pilot power 2CTs on the way. Could've gotten something better, but I loved them on my R6, so a bit of an emotional attachment - plus super cheap. I'll slap on some Pirellis once I've worn through these - hopefully some time in 2015. Also got some nice metal stems.
 
Last edited:
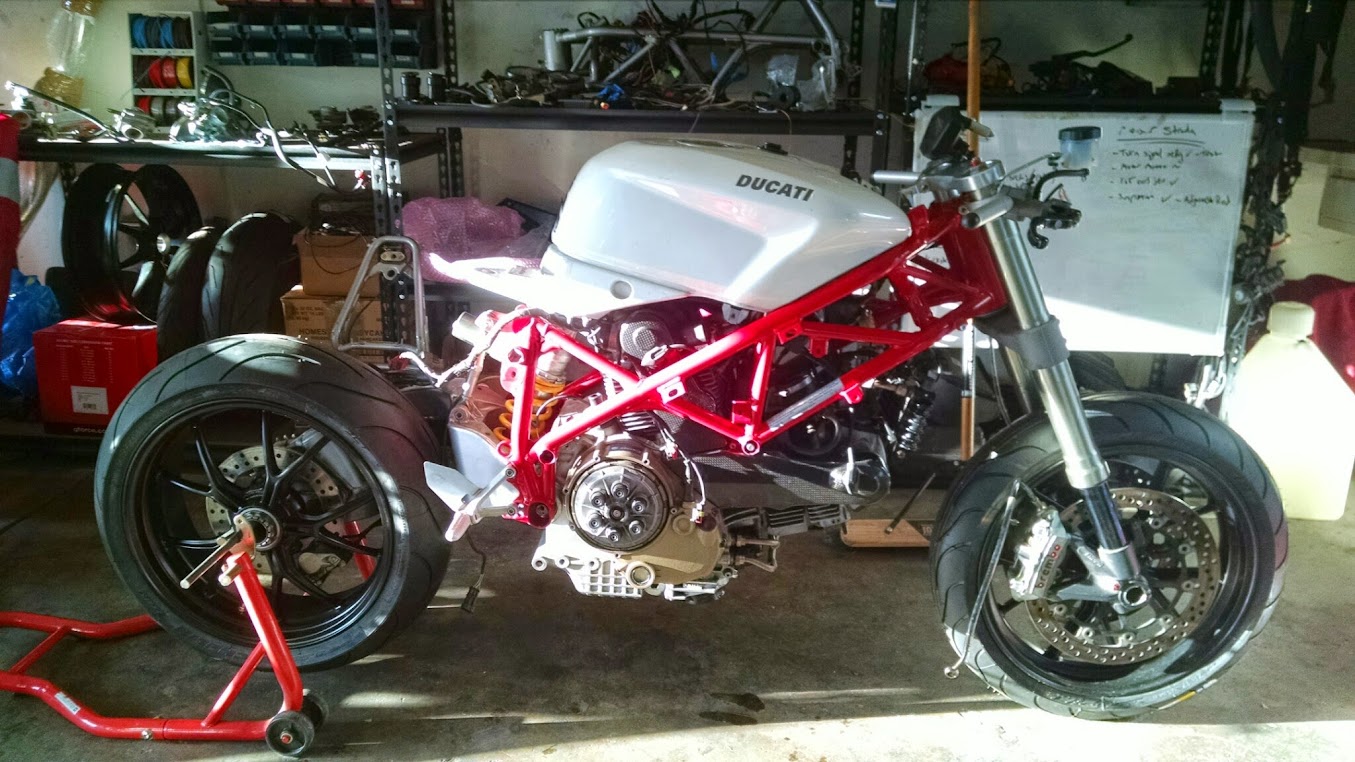
Some updates: decided to go with a bigger motor - got a 1100 twin spark motor from an 08 hypermotard and fitted that instead (will use the 900 for my other frame / build as a "lower budget" example), here's the latest:

New engine installed & roller:

IMG_20150111_155743793.jpg


Right before swapping over - 1100 on the floor, 900 in the frame:

IMG_20150107_175746124.jpg
 
Last edited:
Haven't updated this in a while, some highlights:

Modifying the Hypermotard harness to get rid of stuff I don't need and trim it down:

IMG_20150404_154322073.jpg


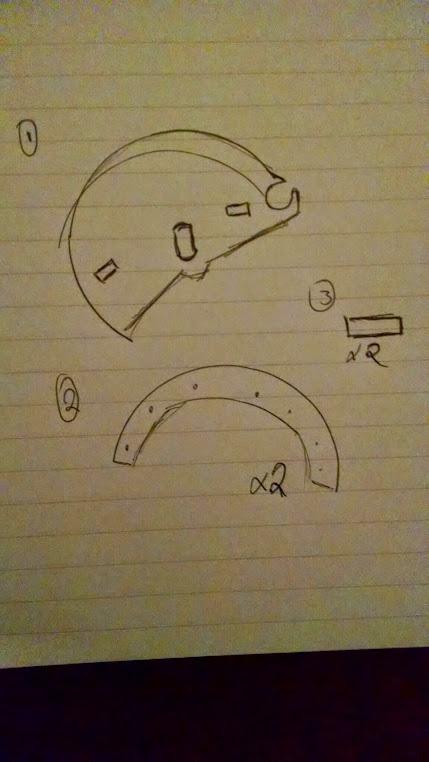
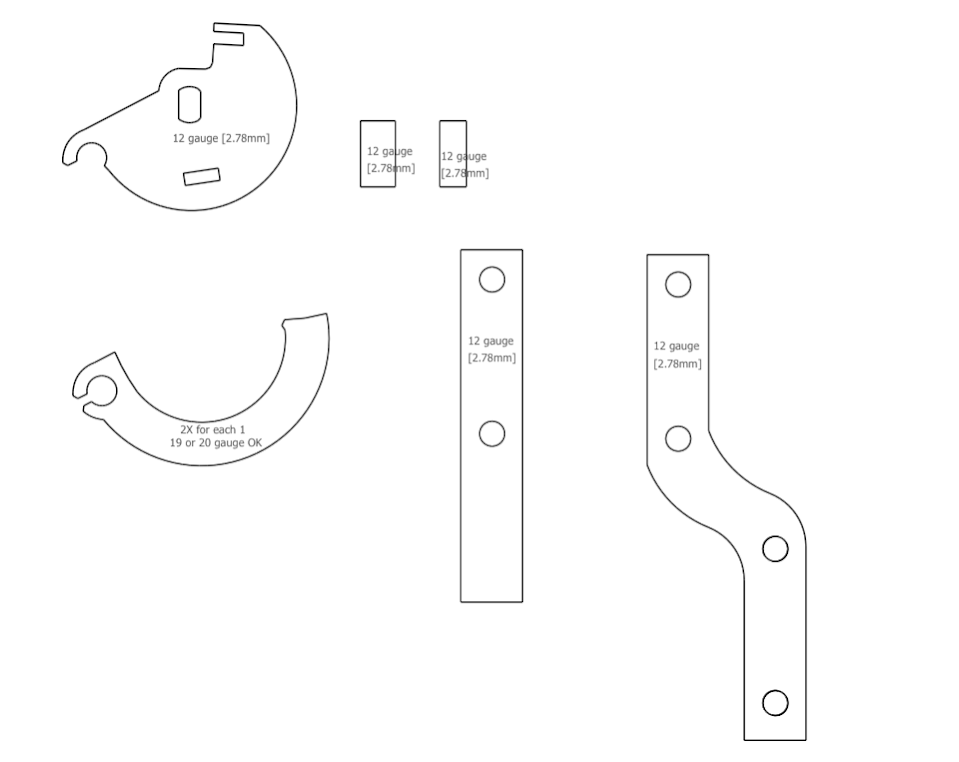
Some sketches of the modified throttle wheel I need to make and the CAD version that will be used for laser cutting:

IMG_20150405_221055277.jpg


Screen%2BShot%2B2015-05-26%2Bat%2B1.29.13%2BAM.png


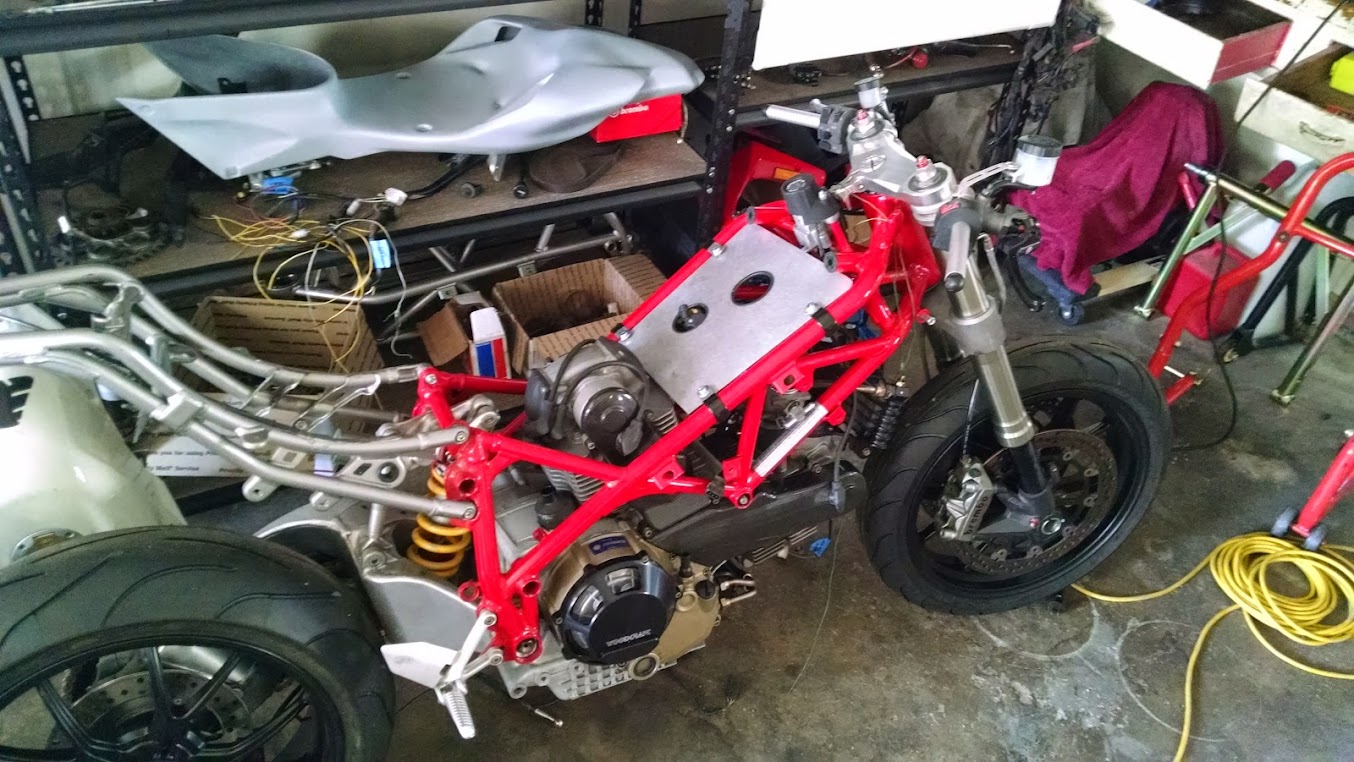
Battery and accessories tray I mocked up with cardboard and had laser cut - had to add an extra hole for the throttle position sensor, but overall very happy with it:

IMG_20150524_161948639.jpg


Hooked everything up today - gauges work and it cranked! Wasn't sure if it would considering I pulled a bunch of the accessories out of the harness, and nobody makes a "race harness" for the Hypermotard afaik. Based on the (shitty) wiring diagram and what I could decipher, it would work fine:

IMG_20150525_174138391.jpg


Pic of when I had the tank on last week, subframe is just to mock - will likely go in a different, awesomer, direction.

IMG_20150514_152737952.jpg


Up next:
- Wait on parts (fairing stay, intakes, random bolts, bla bla)
- Finish fuel lines (need to make new ones due to split throttle bodies)
- Get throttle wheel back, install, and get custom throttle cables made
- Fab up an exhaust
- Modify the plastics and make it look the seks
- Wheelies
 
pretty awesome build. Have you gotten your motogadget stuff yet? I used some of their stuff in my vfr street fighter build, and quality was awesome. Curious about how easy and well integrated their m unit will work.
 
Nice build. :applause

We need a dedicated Build Thread up in here. I have always wanted to build up a GSXR-based streetfighter. :ride
 
Which Shorai are you using? I'm trying to figure out the smallest one I can get away with for my 916 project.
 
Looking good Nik

I always run the biggest Shorai I can fit on any bike.
More CCA and less worries about diminished reserve capacity leaving you stranded, negligible difference in weight.
Unless you weigh your wallet, then it is significant.
 
Back
Top