• There has been a recent cluster of spammers accessing BARFer accounts and posting spam. To safeguard your account, please consider changing your password. It would be even better to take the additional step of enabling 2 Factor Authentication (2FA) on your BARF account. Read more here.

Build Thread: 999S "4VSBK"

viva_brasil

New member
Joined
Jun 1, 2012
Location
Palo Alto
Moto(s)
EBR, Pani, 999/1198S
Name
Nik
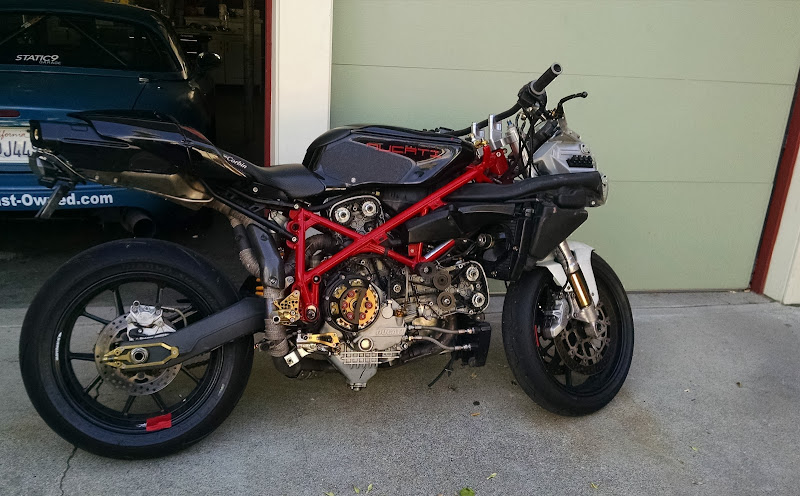
Before:
IMG_20150714_085305517.jpg


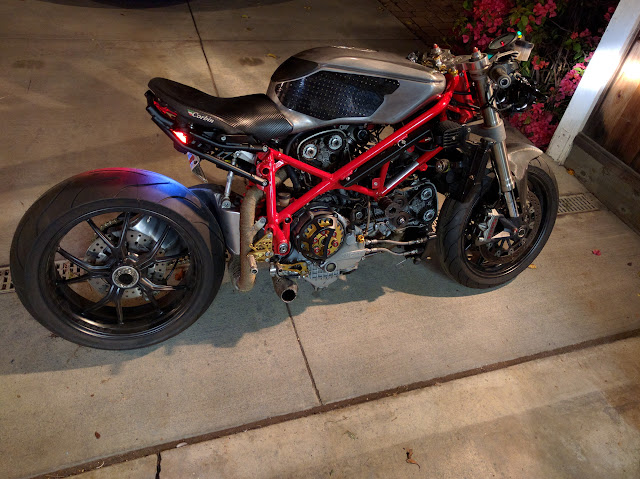
After:
IMG_20160411_215000.jpg


I have a 2VSBK build, which is off waiting in the corner while I work on this new endeavor... Started as a 999S I bought from a forum member with the intention of using it as a donor for parts. But I really like the engine. So my plan is to continue working on the 2VSBK concept, with 4 valve and 2 valve variants. 4VSBK may be redundant... but what I mean by SBK is super light and awesome.

The bike is currently on the jig / stand, here's the list of to-do's:
- Get rid of the airbox / pod filter design
- New fuel lines... might as well
- Custom exhaust
- Custom subframe
- Figure something out for the front end... small and functional
- Maybe 848 / 1098 front end, have some stuff lying around
- See if I can use this friggin awesome K-Tech rear shock

Stuff I've already done: I made a jig / stand for these bikes (fits most Ducati motors at least through the 999 model range) to make sure everything is nice and straight. And I got started with the airbox / pod filter design. Some pics to kick things off...

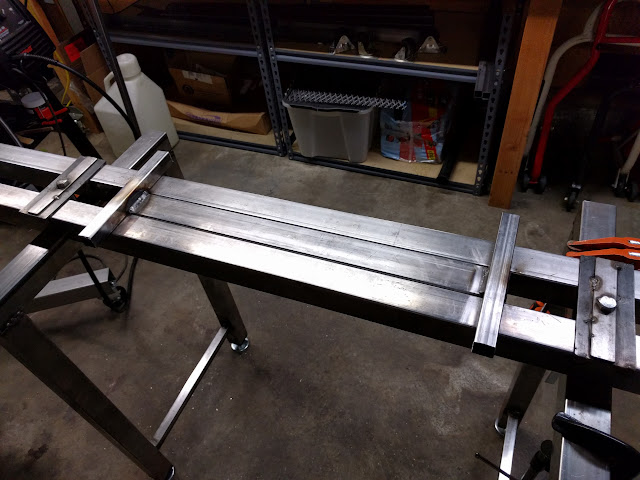
Motorcycle stand thing in the making

The plates on the engine that will connect to the base:
IMG_20160127_175743.jpg


The base that slots into the jig:
IMG_20160127_184004.jpg


All welded up and holding the engine. Note for "levelness" I first ensured the jig was perfectly level. Then when lining up the engine / frame - I ensured the frame was perfectly level and tacked it up as such:
IMG_20160127_203723.jpg


A shot of the frame:
IMG_20160127_204935.jpg


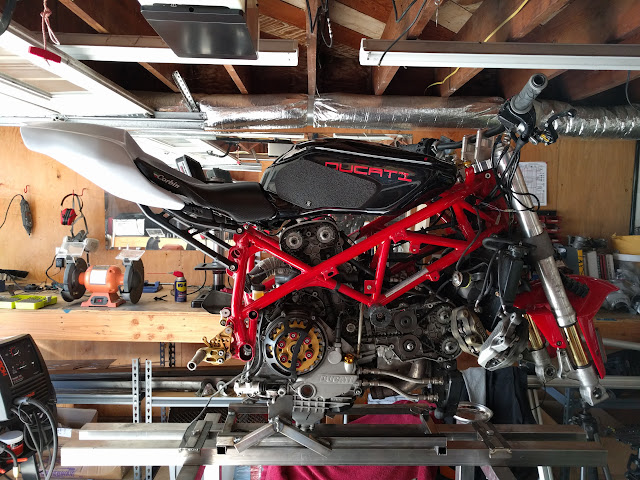
Aaand finally with the 999S mounted, note I had done a good amount of stripping before putting it up - removed exhaust, removed the tank and seat as well as airbox and throttle bodies:
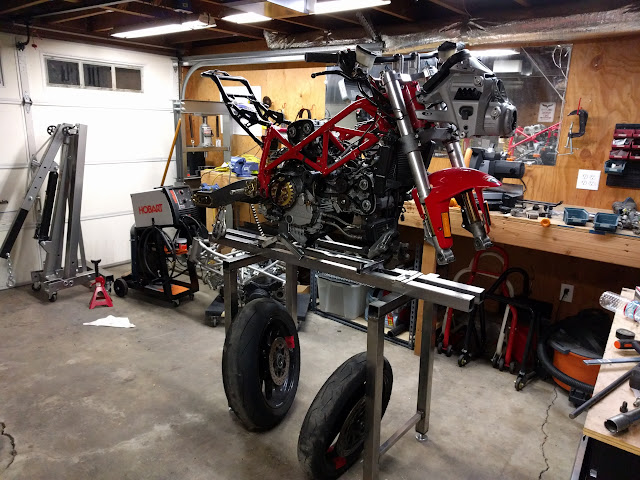
IMG_20160127_222633.jpg


Split that nasty headlight open, pulling out the projectors...
IMG_20160129_100029.jpg


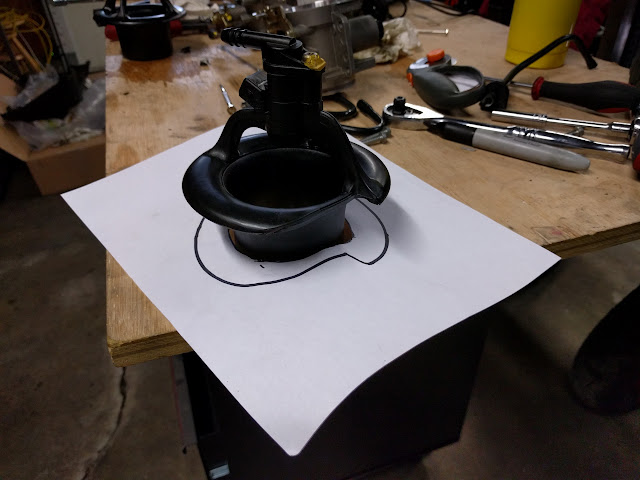
The throttle body design is very interesting on these... definitely a challenge to get rid of the airbox. No pod filters available, so decided to make my own.
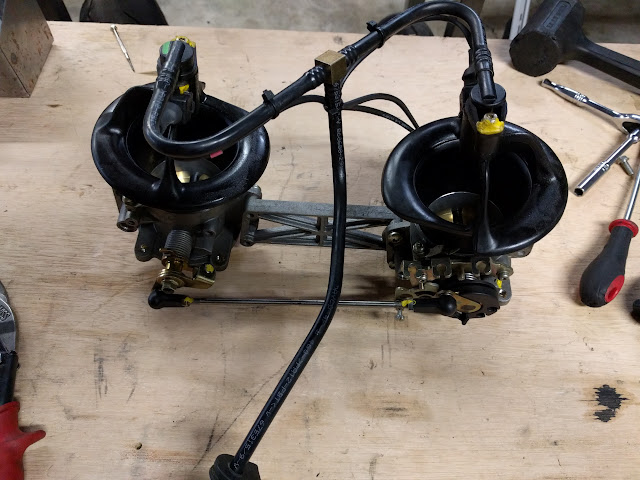
IMG_20160129_102431.jpg


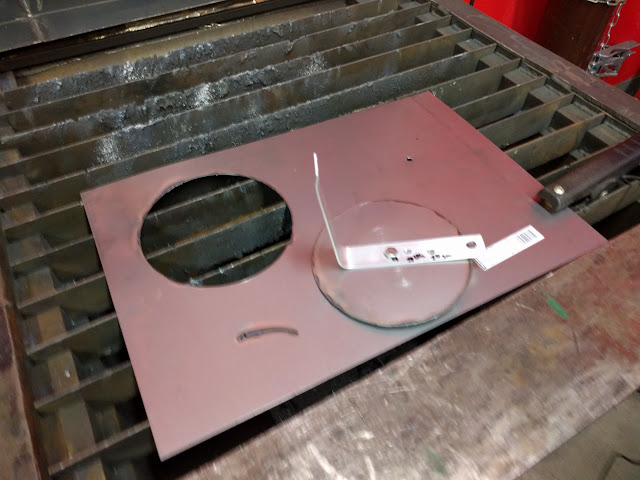
Some tracing....
IMG_20160129_104805.jpg


Plasma cutting circles!
IMG_20160129_155812.jpg


ooohhh yes
IMG_20160129_161801.jpg


The "pod" part of pod filter... or "cone". I used the wood as a jig to drill the holes and hold the rod. Not a big deal for little low-amp welds on thin stuff:
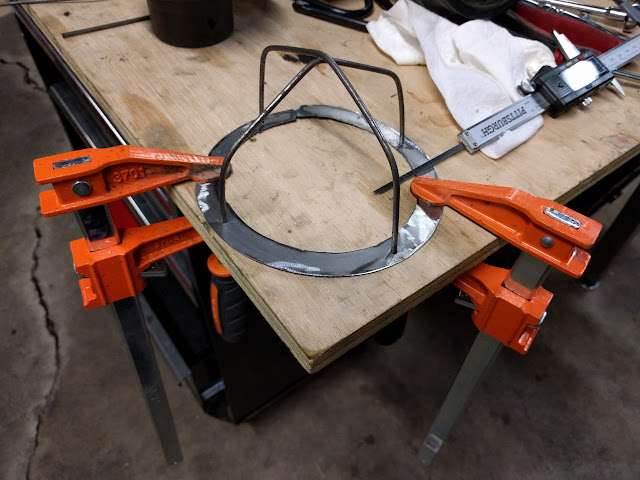
IMG_20160129_182309.jpg


And almost finished cone structure, just need to trim the rods sticking out the bottom and drill the bolt holes to bolt it to the base plate:
IMG_20160129_183632.jpg
 
Last edited:
sheeeeet google photos don't link like they used to! found a workaround - should be working now.
 
Got a bit more time with her today - swapped the swingarm and front forks, and removed the battery tray thing - going to re-organize the wiring, maybe do a wiring tray and tuck it up into the tank / airbox space that will be available now.

Swingarm removed and mocking up with a track tail. I want to be able to put a tail and at least upper fairing on for track duty:
IMG_20160131_143641.jpg


Sprocket was missing a couple teeth.... weird
IMG_20160131_153457.jpg


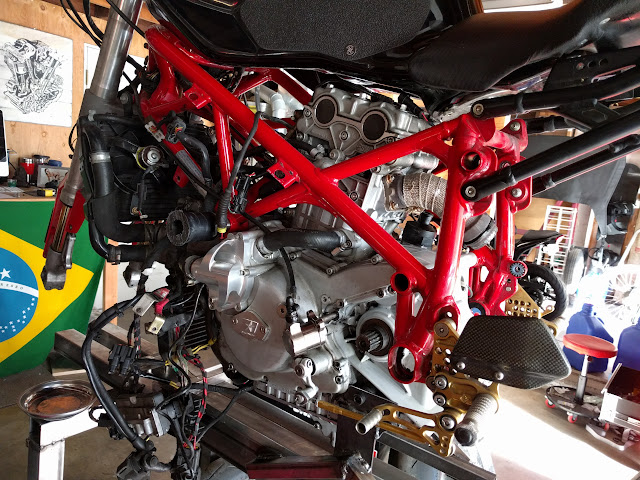
Battery tray thing removed (houses battery, ECU, voltage regulator, starter solenoid, and a bunch of wiring), will likely re-tape this and tuck it up into where the top of the airbox used to be:
IMG_20160131_153525.jpg


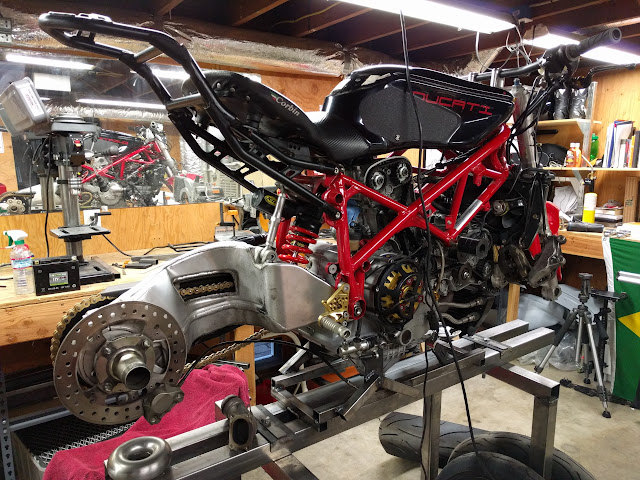
Swingarm and K-Tech shock installed! Won't fit OEM exhaust manifold, so will have to make some tighter bends using the metal donut:
IMG_20160131_172729.jpg
 
Last edited:
OP, your frame jig scares me. That's sizable lever with a lot of torque being applied in a questionably small spot.
 
Last edited:
OP, your frame jig scares me. That's a sizable with a lot of torque being applied in a questionably small spot.

The plate is 1/8" thick and the tubing is 1" square 1/16" thick. The force applied on the plate (by the bolts in the engine case) is parallel to the material, it's the strongest part of the whole structure. Bad welds could break, but I ran welds front and back.

I calculated strength of steel for a manifold I made some years ago to see if it could support the weight of a big turbo and exhaust system when hot... Don't remember the details but the numbers were an order of magnitude or two greater than what this will ever see.

The welds aren't what scares me, but rather the forced bring applied to the engine casting. Because the mounting points are so close, you are creating one hell out a lever.
 
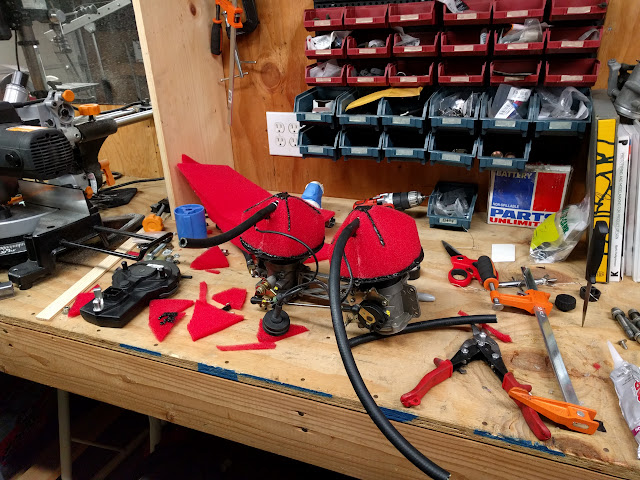
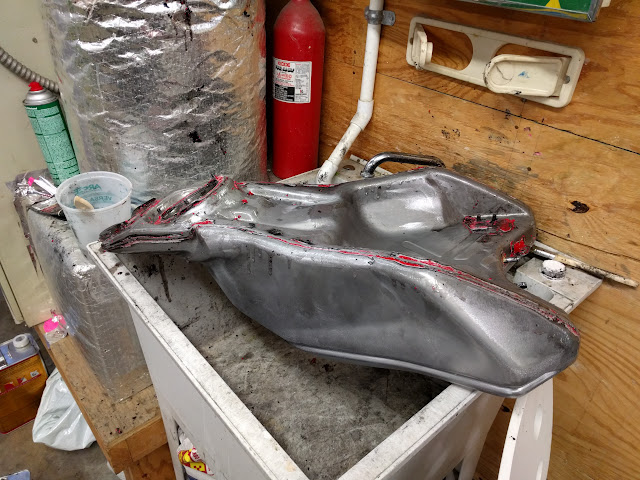
Some updates - finished up the pods, I will need to modify the throttle cables - add 90 degree ends at the throttle. Also decided to keep the wiring / battery on the side. And stripped the tank today - the paint was peeling.

Filters finished:
IMG_20160203_203820.jpg


Starting to strip the tank:
IMG_20160206_125635.jpg


Paint stripper sped things up a bit:
IMG_20160206_174709.jpg


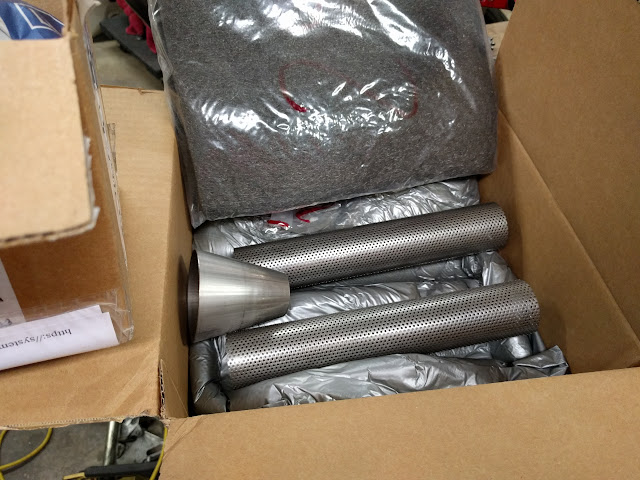
And the exhaust stuff, just waiting on a couple other tubes to start fabricating
IMG_20160206_174736.jpg


IMG_20160206_174808.jpg
 
subscribed!
 
Fun project. I think your jig table could use an x type cross bracing for the legs. I would hate to see your entire set up collapse when the legs go over.
 
Fun project. I think your jig table could use an x type cross bracing for the legs. I would hate to see your entire set up collapse when the legs go over.

yup it's on my to-do list. The square tubing is super beefy, it sways less than I expected, but the x-brace is definitely required and will be done soon. Will also double as a parts tray.

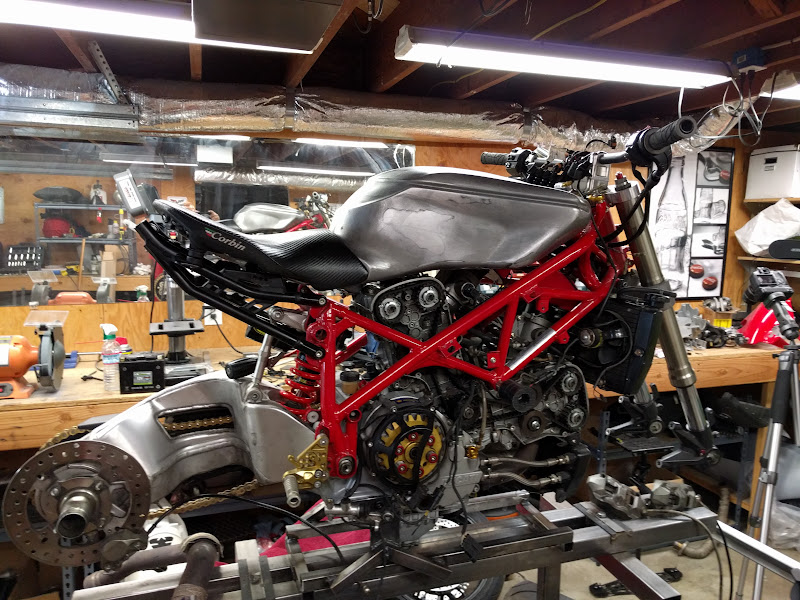
Some mocking up this morning, chopped the tail and mounted the tank / seat. For the front end on this one, I like the high bars - makes it very comfortable and fun to ride - so I'm considering doing a number plate front and mounting a HID projector I have into it somehow... That or just a round headlight.

IMG_20160207_094815.jpg


And the wiring tray, re-organized it a bit and re-taped some of the harness sections where OEM wrap was fraying. Also trimmed the radiator tabs
IMG_20160207_095024.jpg
 
Interesting project. I recently finished a 916/1098 hybrid and I'm currently building an ST4 with a 1198 motor.

Look forward to watching your progress.
 
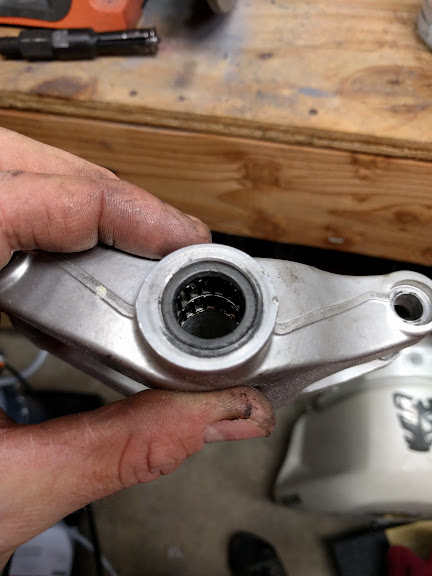
Today's update - sanded, cleaned, and clear coated the tank, pulled the throttle cables to get the 90 degree fittings installed at Motion Pro, and I pulled bearings from a few extra suspension links I have to modify them (the link needs to be machined down by ~6mm on one end so it sits perfectly in the middle when using a 848/1098 swingarm on a xx9 chassis). Going to make a few of them.

IMG_20160208_185214.jpg


IMG_20160208_182708.jpg


IMG_20160208_185851.jpg


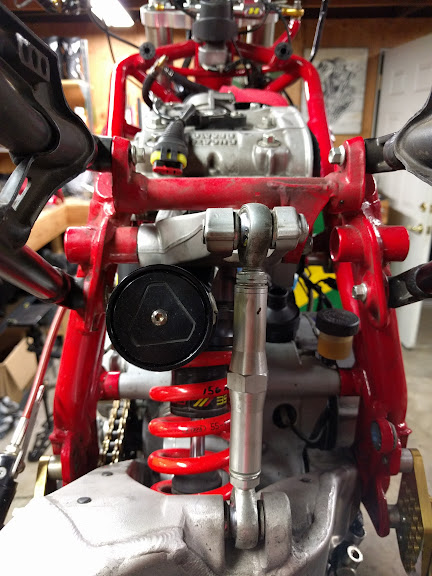
Here's a stock link installed, you can see how the adjuster is just slightly off to the right. Will trim 5-6mm off the left side of the pivot which will line things up straight.
IMG_20160208_185936.jpg
 
Interesting project. I recently finished a 916/1098 hybrid and I'm currently building an ST4 with a 1198 motor.

Look forward to watching your progress.

Nice! any links to pics?

I'm trying to get this finished ASAP so I can get back to my main build - a 1100 2V motor in a SBK frame. Aiming for 100whp and 300-350 pounds.
 
Nice! any links to pics?

I'm trying to get this finished ASAP so I can get back to my main build - a 1100 2V motor in a SBK frame. Aiming for 100whp and 300-350 pounds.

No pics, but it's got about 25 trackdays on it without a single problem. It's a great bike.

The ST4/1198 will be mainly for commuting and weekend blasts to the coast. I'm just getting started on it.

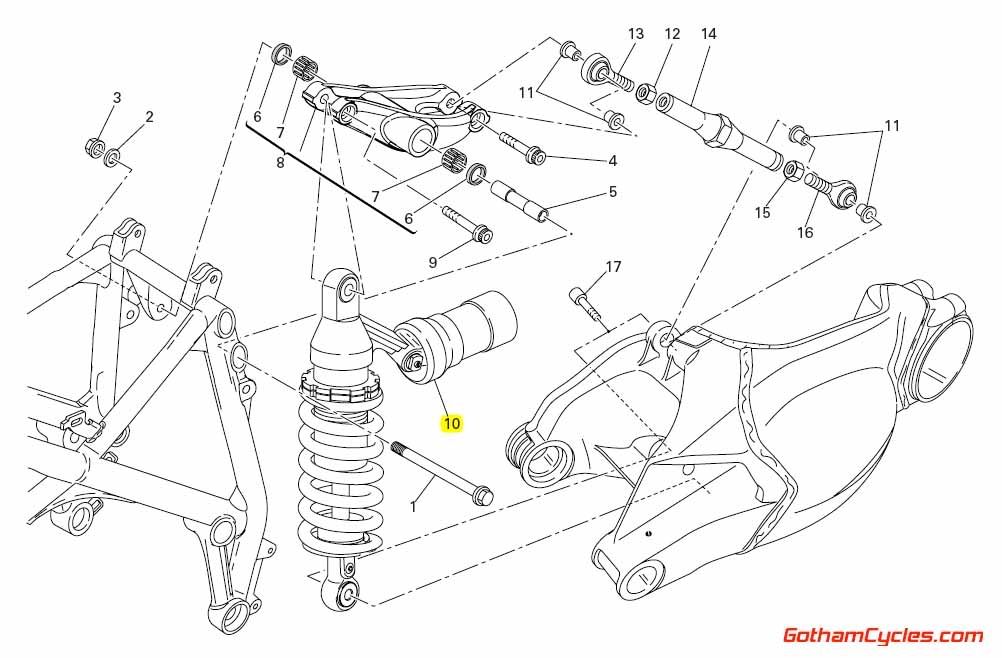
On another note, you might take a look at the 996 suspension rocker, it's a little different than the 999 and 1098 versions. I wrestled with the 1098 swingarm swap, there are some geometry issues associated with the swap, ultimately I just used the 916 arm. My current project will use the 1098 arm though.
 
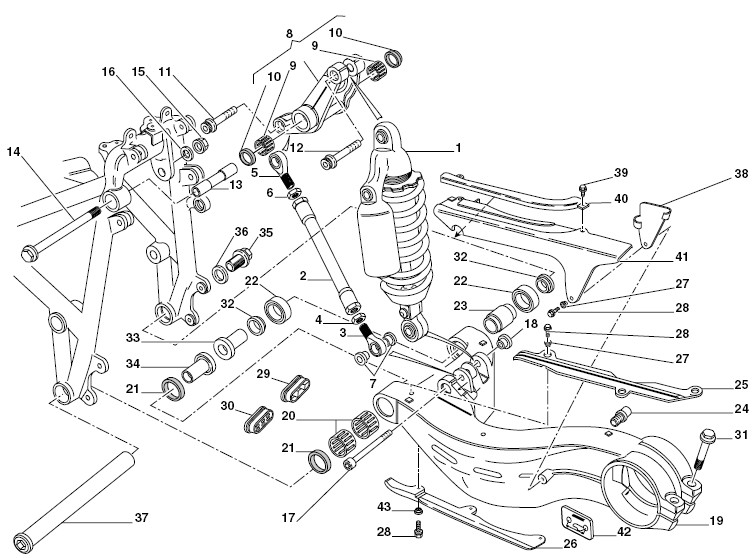
The 748, 996, 998 look like the same design as the 749, 999:

916
1143970594684_Swing_Arm_Graphic.jpg


999
36520501B.jpg


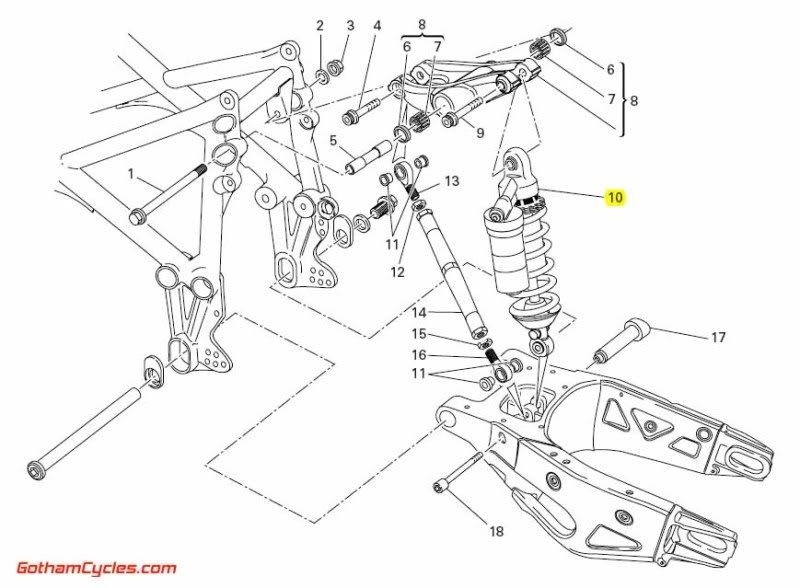
The 848, 1098 have the shock closer to the engine case and the adjuster link towards the back of the bike:
36520741A.jpg


I haven't tried fitting the 1098 arm, shock, and adjuster link to a 999 pivot... I just realized the only 999 pivot link I have is a flat link with a modified Ohlins, which definitely won't work with the 1098 OEM length shock. I may pick up an OEM 748/916/998/749/999 link to test.
 
Back
Top