twitchmonitor
New member
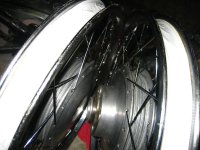
Tires
I finally got the wheels done. Here's the process
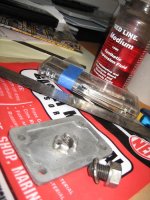
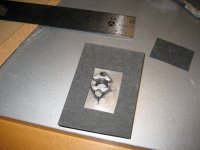
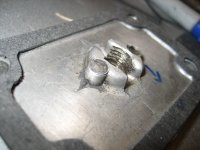
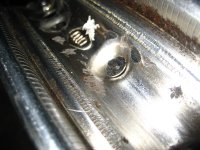
1. unceremoniously grind off sharp spoke threads
2. apply silicone RTV to spoke holes (this is where most of my rust came from in the first place, hopefully this will keep it at bay somewhat).
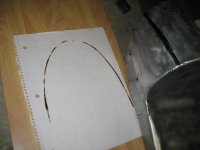
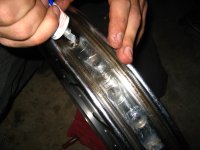
3. wrap rims with duct tape to protect tubes
4. struggle to mount tires, trying to suppress the memory of the scene in On Any Sunday, as Malcolm Smith was riding the 6 day trails, where the Bruce Brown said "if you can't change your tire in 3 minutes, you're not competitive." As it turns out, I'm not competitive. Not even remotely.
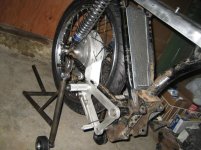
5. see the pieces begin to fall into place.
I finally got the wheels done. Here's the process
1. unceremoniously grind off sharp spoke threads
2. apply silicone RTV to spoke holes (this is where most of my rust came from in the first place, hopefully this will keep it at bay somewhat).
3. wrap rims with duct tape to protect tubes
4. struggle to mount tires, trying to suppress the memory of the scene in On Any Sunday, as Malcolm Smith was riding the 6 day trails, where the Bruce Brown said "if you can't change your tire in 3 minutes, you're not competitive." As it turns out, I'm not competitive. Not even remotely.
5. see the pieces begin to fall into place.

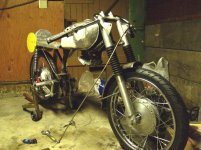


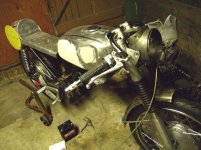

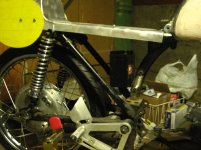
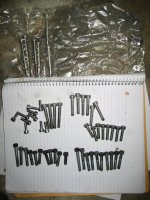
") Still needs the hardware added and a quick coat of paint. It was a huge thrill getting this done yesterday.
Still needs the hardware added and a quick coat of paint. It was a huge thrill getting this done yesterday.