DaveT319
Marquez FTW
Yeah, no engine build, though all the major subsystems need to be gone through. Luckily I haven't found anything really wrong yet.
Nice.

Yeah, no engine build, though all the major subsystems need to be gone through. Luckily I haven't found anything really wrong yet.

Cool I got one of these too,, err sort of.I had to have one so I imported the parts in boxes from the UK, Japan, and one little part from Australia. It actually wasn't as costly as I thought until my rationality took a vacation from my head and I started springing for fancy parts.
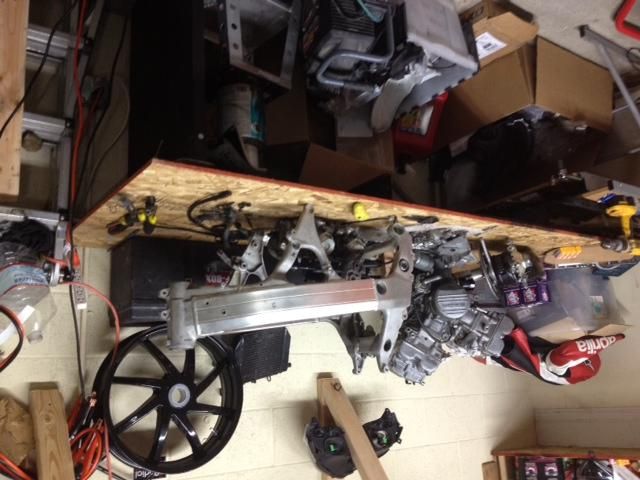
Here's most of it. The rest is in the spare bedroom and the wheels are now on my NC30 for the time being. Hopefully I'll get it put together and out to a track later this year. Just need a few small things like an engine build, sprockets, chain, calipers, MC, rear shock, brake lines, and some nicer rads.


 Apparently at some point, this bike sprouted an CBR250RR (MC22) gauge cluster. The stock cluster has a redline of 14.5k and ends at 16k RPM. I suspect at some point in the past, this bike was raced with an HRC CDI box (which raises the rev limit to 16k) and the racer got tired of burying the tach at every shift. This bike most assuredly does not rev to 19k.
 Looks like my spare bike! we should talk. working on a radiator because I hate everything that is out there for it. I have a set of calipers. I also have some suspension mods for the rear that really helped. I has my own link made to get the swing arm to a better angle.
Us V4 peeps have to stick together!
 I was hoping to have it done by now but had a few set backs so it's taking quite a bit longer than I intended.
 We've talked before. See those 4 small boxes right under that Aprilia jacketI was hoping to have it done by now but had a few set backs so it's taking quite a bit longer than I intended.
Definitely interested in what you come up with for a radiator. Last we talked, you where going to use one from a CBR and cut it down right?
That's a bad ass pic in your avatar BTW.

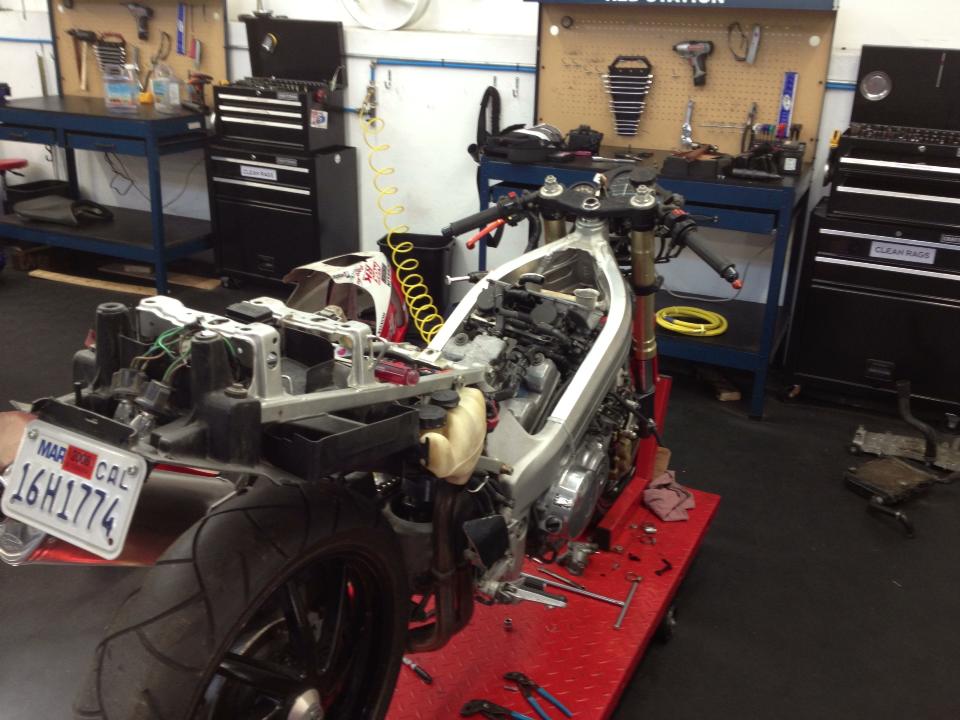
I'm still jealous that you have body work and fancy brakes. I've got no useful bodywork and frozen brakes right now.
Not often a project has pretty "before" pictures!
I'm still jealous that you have body work and fancy brakes. I've got no useful bodywork and frozen brakes right now.
Not often a project has pretty "before" pictures!
Hie and get thee to Moto Shop, knave! Measure thee thine caliper mounts and be soothed by their proximity in measurement to contemporaneous alternatives!
ircsmith, are your parts NC23 or NC35 parts? Poor numist has an NC23 in need of salvation.
I think I have an extra set of NC30 calipers that might work for the NC23. I can take some measurements. They might need new piston seals and there's a little bit of pitting on the pistons but I'm almost positive you can get new ones at any Honda dealer.
New rotors are easy to get for your NC35 too.
If your interested, I'm going to be putting together an order next month for some replacement parts, including a new water pump for my road NC30.
Water pump? I grafted a CBR1000rr onto the motor that is going together. a little tricky but not bad. I plan to mill out a few more brackets any interest?
I have wanted to join the titled nc35 /30 club for awhile. Can it be done for $4k or less? I think I know the answer to this question.
 Talk about not being too bright.


 They're seriously tiny, and no compression tester at Moto Shop has an adapter small enough to thread into the head. As a result, no compression test for me!
